

It's been a while since I've talked about Vagrant on Windows. It's time to post an update for April 2019.
This post is for all of the I.T. Pros out there that want to know what Vagrant is, how to use it, why you might want to use it, and so on.
About Vagrant
Vagrant is one of my primary workstation utilities. I use it both at work and at home for quickly ramping up test environments (full virtual machines) in VirtualBox, then destroy them after I've tested out my code or configurations. What do I mean by this? Ok let's slow down. I'll provide a scenario...
Imagine I'm an I.T. Pro, working in an enterprise company or MSP. And I need to test a new version of software, or test out a configuration for an application or service. Classic processes in enterprise I.T. means I have to request the virtual machines to be built in the on-prem infrastructure or cloud environment, get approvals, possibly get budget, wait for the VMs to be made available if approved, then be granted access by security. Only after all of that is completed is when I might be able to test my application. And what if I made a mistake and want to start over fresh? I'd have to go through the same request process to get a new set of VMs built for me.
Vagrant allows you to use your locally installed hypervisor on your workstation to ramp up the same test environment quickly, then destroy the VMs when you are done. Vagrant is quite literally an automation tool for local hypervisors.
So does this sound like a tool you want to use? Great! I'll share how I have it set up on my Windows workstation.
Installing Vagrant
So first things first, you need to install a hypervisor. Assuming you are on Windows I recommend you stick with Oracle's VirtualBox instead of Hyper-V. Why VirtualBox? Because of the pre-built and ready enabled networking at install time. With Hyper-V you'll have to figure out your own DHCP server and manually set up networking per VM. From here on out I will only reference VirtualBox.
You can download and install Virtualbox here, https://www.virtualbox.org (reboot required). As of the time of this writing the current version of VirtualBox is 6.06, which is what I'm using now.
Now that we have a hypervisor let's install Vagrant. Download it from the main website here. Yes, you will be forced to reboot your system after the install finished. After the reboot, launch powershell (and you are using Powershell instead of CMD, correct?) and execute vagrant --version. You'll see the version output. This is how we know that vagrant is working as expected.
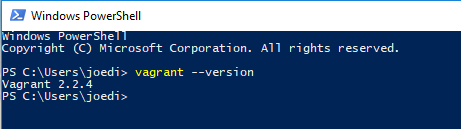
Note that at the time of this writing I'm using Vagrant 2.2.4.
Verify Hypervisor Environment Variable for Vagrant
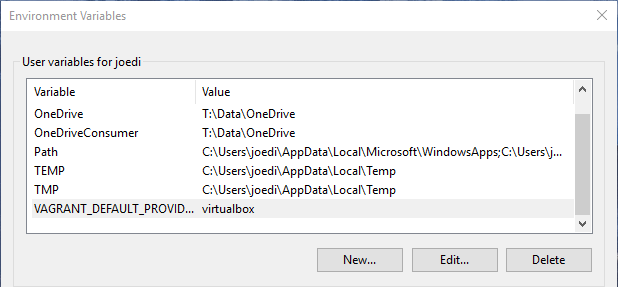
Before you continue you should ensure the proper default provider Windows environment variable is configured on your workstation. In my experience, when installing Vagrant on Windows the default provider is set for "hyperv" which we don't want because we will be using VirtualBox instead.
To change the default provider, edit the VAGRANT_DEFAULT_PROVIDER setting in Windows Environment Variables. It should look like this...
Download Vagrant Boxes
A Vagrant Box is a preconfigured virtual machine that can be initialized with Vagrant. Hashicorp, the maker of Vagrant, maintains a public repository of vagrant boxes at https://app.vagrantup.com that you can download on-demand for free. You will need to download at least one box to use vagrant.
For this example, we will download the latest official Ubuntu 16.04 LTS box.
From Powershell, execute this command:
> vagrant box add ubuntu/xenial64
When successful you will see an output like so...

Now that we have a vagrant box, we can start one up!
Edit the Vagrantfile
A Vagrantfile is the configuration of your Vagrant project. For example, you might have a project where you need three Ubuntu VMs to be started up. A Vagrantfile is where you will define these needs.
So first, create a folder on your workstation. This will be where you will initialize your first vagrantfile. For this example I created mine in C:\vagrant.
Navigate to your project folder and execute the following...
C:\vagrant\> vagrant init
A generic vagrantfile will be created in the project folder. Edit the file and replace the text with this:
Vagrant.configure("2") do |config|
  config.vm.box = "ubuntu/xenial64"
  config.vm.provider "virtualbox" do |vb|
    vb.gui = true
    vb.memory = "1024"
  end
end
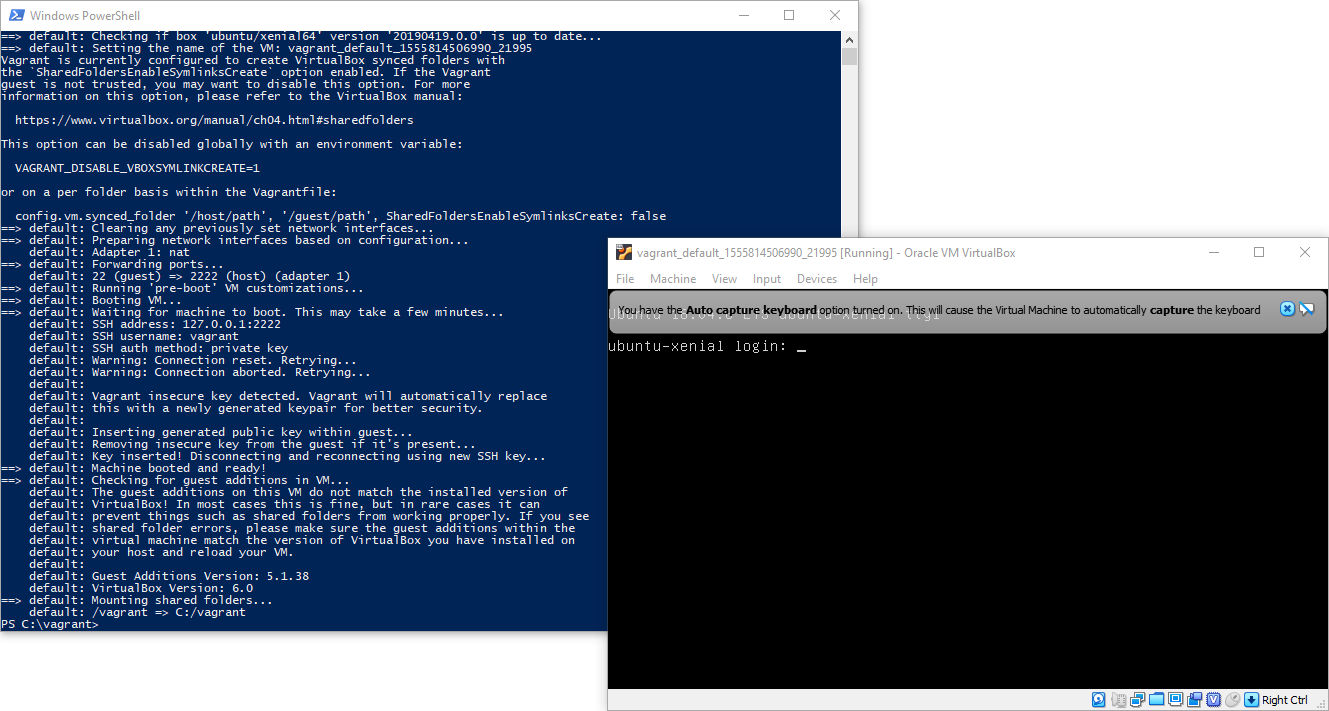
Now, return to Powershell and execute vagrant up:
C:\vagrant\> vagrant up
In less than a minute Vagrant will start up your newly added Vagrant box running Ubuntu 16.04 LTS and display the VirtualBox GUI for the VM.
When you are all finished, run vagrant destroy to completely remove all evidence of the test environment!
Final Notes
As you can see, working with Vagrant on Windows is extremely easy once you have your environment set up correctly for the first time. This article has only brushed the surface on all of the things you can do with Vagrant. If you want to know more make sure you read the official documentation.
- Joey D